
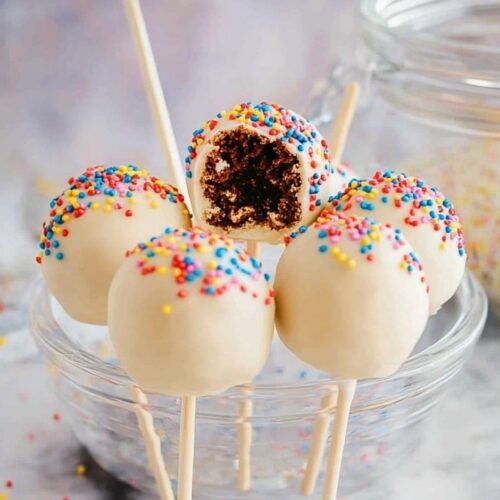
Making cake pops at home used to feel like a mystery to me. I mean, how do those little spheres of joy stay on a stick and look like they came straight out of a bakery? Turns out, it’s not wizardry—just cake mix, frosting, and a bit of fun. The hardest part? Not eating the batter. Seriously. What I love most about cake pops is how adaptable they are. You want chocolate? Go for it. Vanilla with rainbow sprinkles? Yes, please. They’re the perfect dessert when you want something bite-sized, adorable, and capable of making people smile (including you). Whether you’re prepping for a birthday, holiday, or just need a sweet pick-me-up, these little treats always deliver. This recipe checks all the boxes: sweet, fast, and ridiculously easy to decorate—even if your idea of “artistic” is sticking on some candy eyes and calling it a day. These cake pops lean into what home baking should be: playful, a bit imperfect, and totally satisfying.

Table of Contents
- 1) Key Takeaways
- 2) Easy Cake Pops Recipe
- 3) Ingredients for Cake Pops
- 4) How to Make Cake Pops
- 5) Tips for Making Cake Pops
- 6) Making Cake Pops Ahead of Time
- 7) Storing Leftover Cake Pops
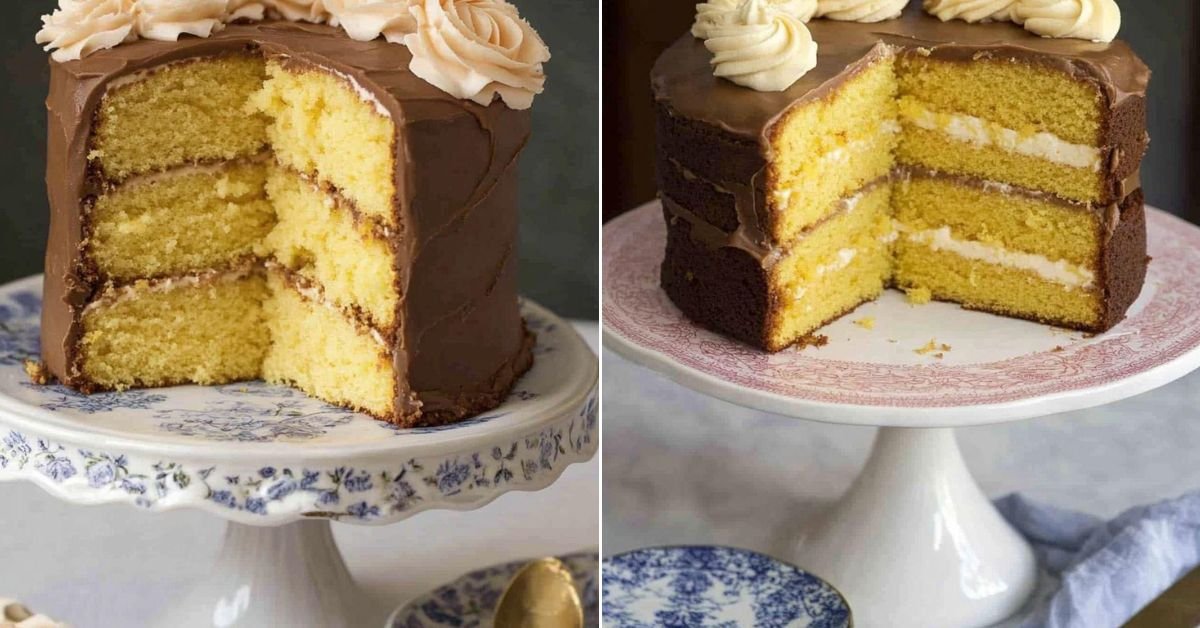
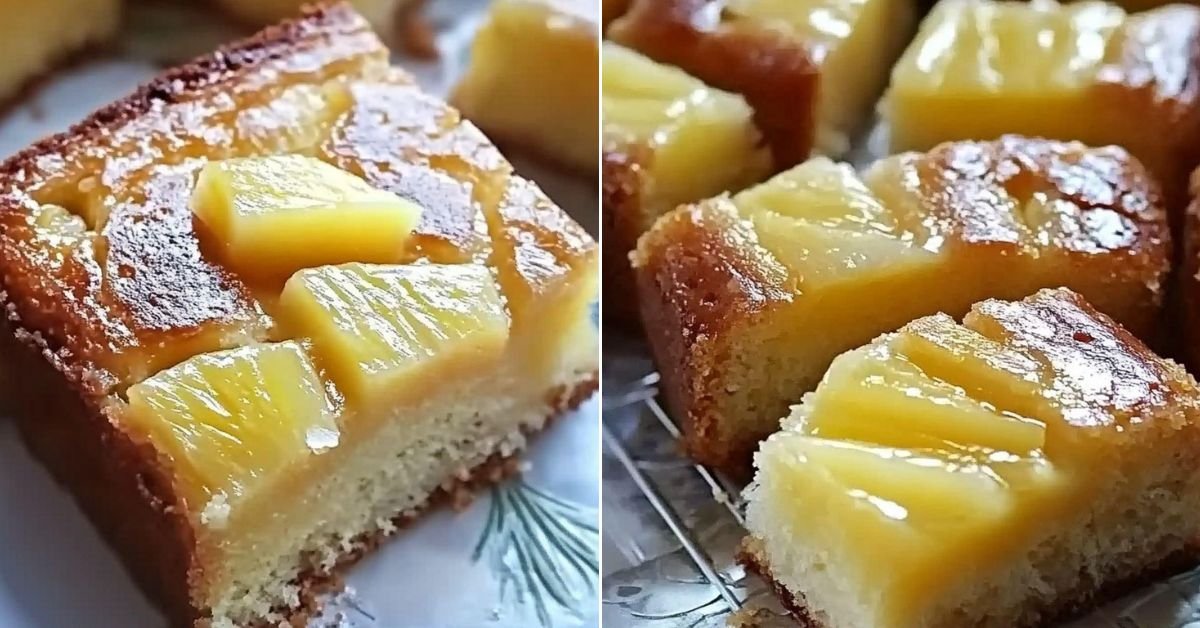
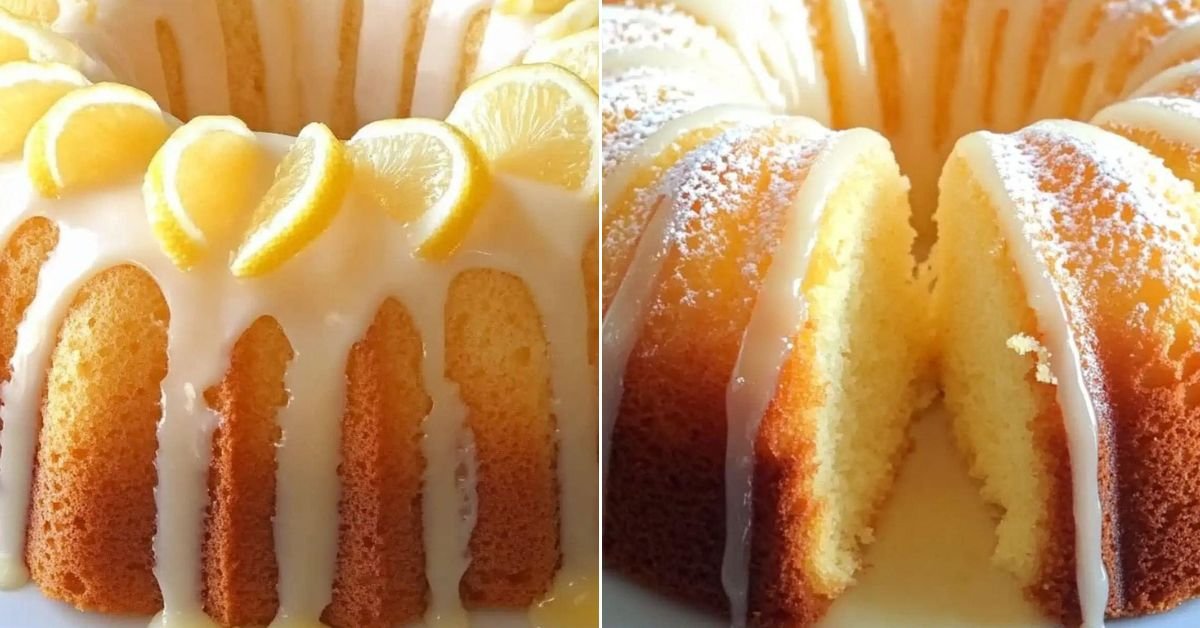
- 8) Try these cakes next!
- 9) Cake Pops
- 10) Nutrition
1) Key Takeaways
- Use boxed cake mix to save time without sacrificing flavor
- Frosting turns your cake crumbs into a shapeable mixture
- Decorating is fun and easy with melted chocolate and sprinkles
- You can prep these cake pops in advance for parties or gifts
2) Easy Cake Pops Recipe
Let me guess. You’ve seen those perfectly round cake pops on Pinterest and wondered how on earth people make those without a team of pastry chefs and a blast chiller. I used to think the same until I gave this recipe a try and realized anyone can do it. I mean it. If you can bake a cake and roll playdough, you’re already halfway there.
What makes this one of my go-to easy cake recipes is its flexibility. You get to pick the flavor, the frosting, the decorations. Want chocolate cake pops dipped in white chocolate and covered in crushed cookies? Go wild. Prefer something fruity like strawberry cake with lemon glaze? That works too.
And the best part is you don’t need any fancy tools. A spoon, a bowl, and maybe a little patience while the pops chill. That’s it. Whether you’re making these for a birthday, a bake sale, or just a Tuesday night sweet tooth fix, this recipe’s got you covered.

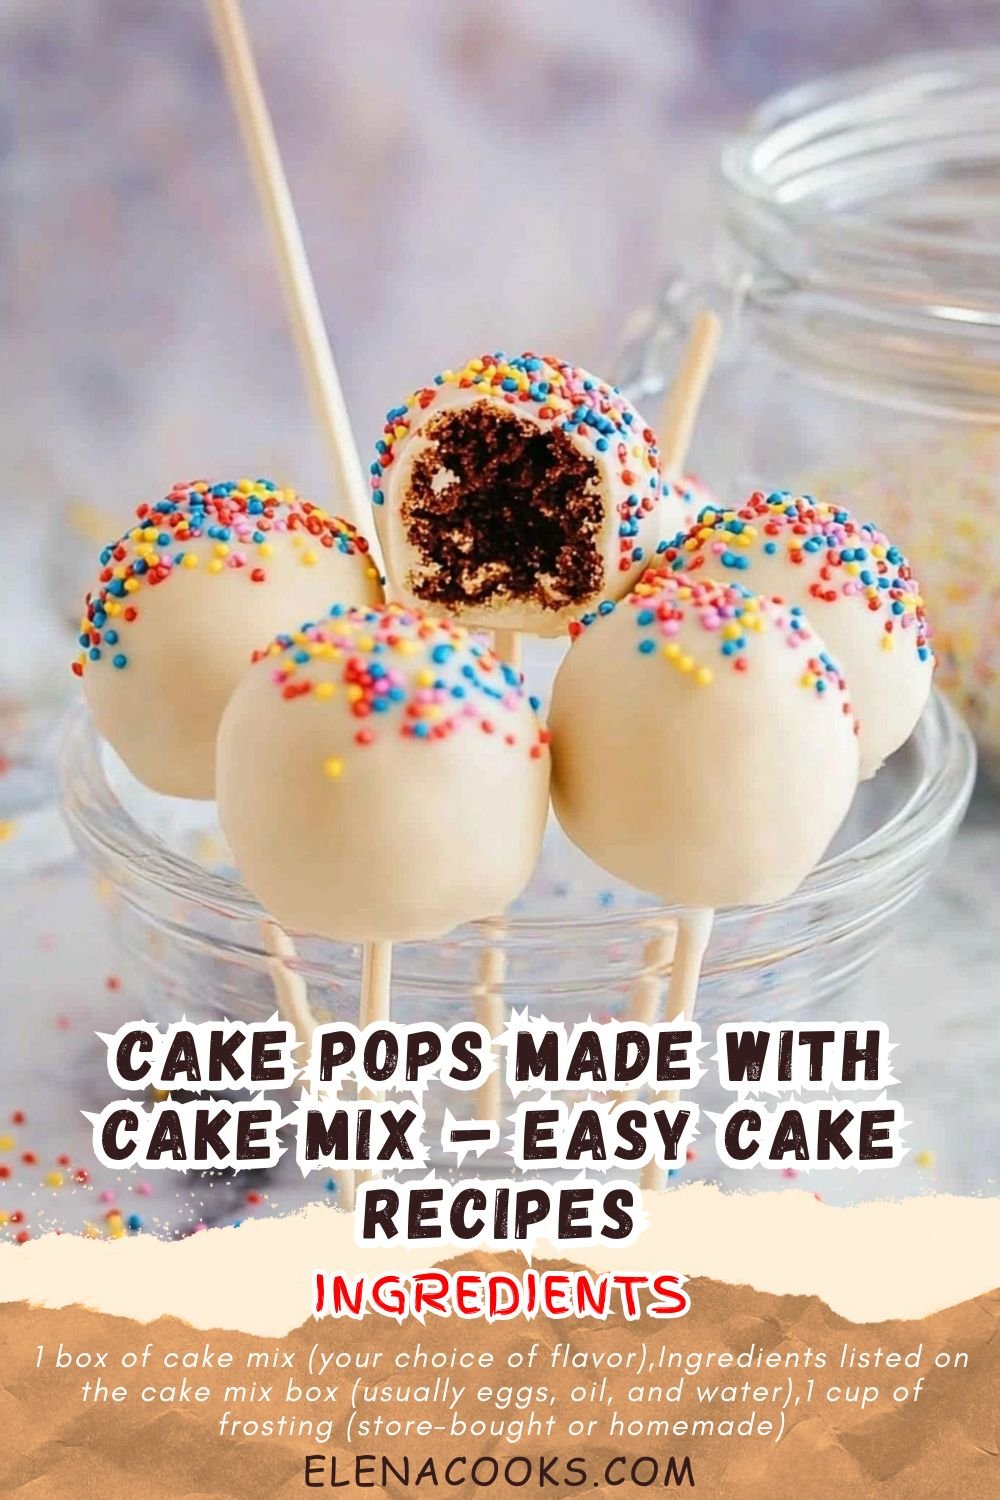
3) Ingredients for Cake Pops
1 box of cake mix: Go with whatever flavor you like. Chocolate, vanilla, red velvet. You can’t really mess this up. Just follow the instructions on the box.
Eggs, oil, and water: These usually come along with the box instructions. You’re just doing what it says here, nothing complicated.
1 cup of frosting: You can use store-bought frosting or make your own. I usually grab a tub of cream cheese or vanilla. It binds everything together and makes the cake mix rollable.
Candy melts or chocolate chips: This is for coating the pops. You can use white chocolate, milk chocolate, or go bold with colored candy melts if you’re feeling festive.
Sprinkles or toppings: This is where it gets fun. Add crushed nuts, cookie crumbs, rainbow sprinkles, or whatever makes you happy.
Lollipop sticks: You can find these at most grocery or craft stores. No lollipop sticks? Use paper straws or skewers.
4) How to Make Cake Pops
Step 1. Bake the cake just like the box says. Once it’s baked and your kitchen smells amazing, let it cool completely. You don’t want to skip this part. Warm cake turns to mush.
Step 2. Crumble the cooled cake into fine bits. Toss it into a big bowl and start breaking it apart with your hands or a fork. It should look like sand—not clumps.
Step 3. Add frosting a little at a time. Mix until the texture feels like clay or playdough. It should hold its shape but not be sticky. You might not need the whole cup.
Step 4. Roll the mixture into 1-inch balls. Line them up on a tray and pop them in the fridge for at least 30 minutes so they can firm up.
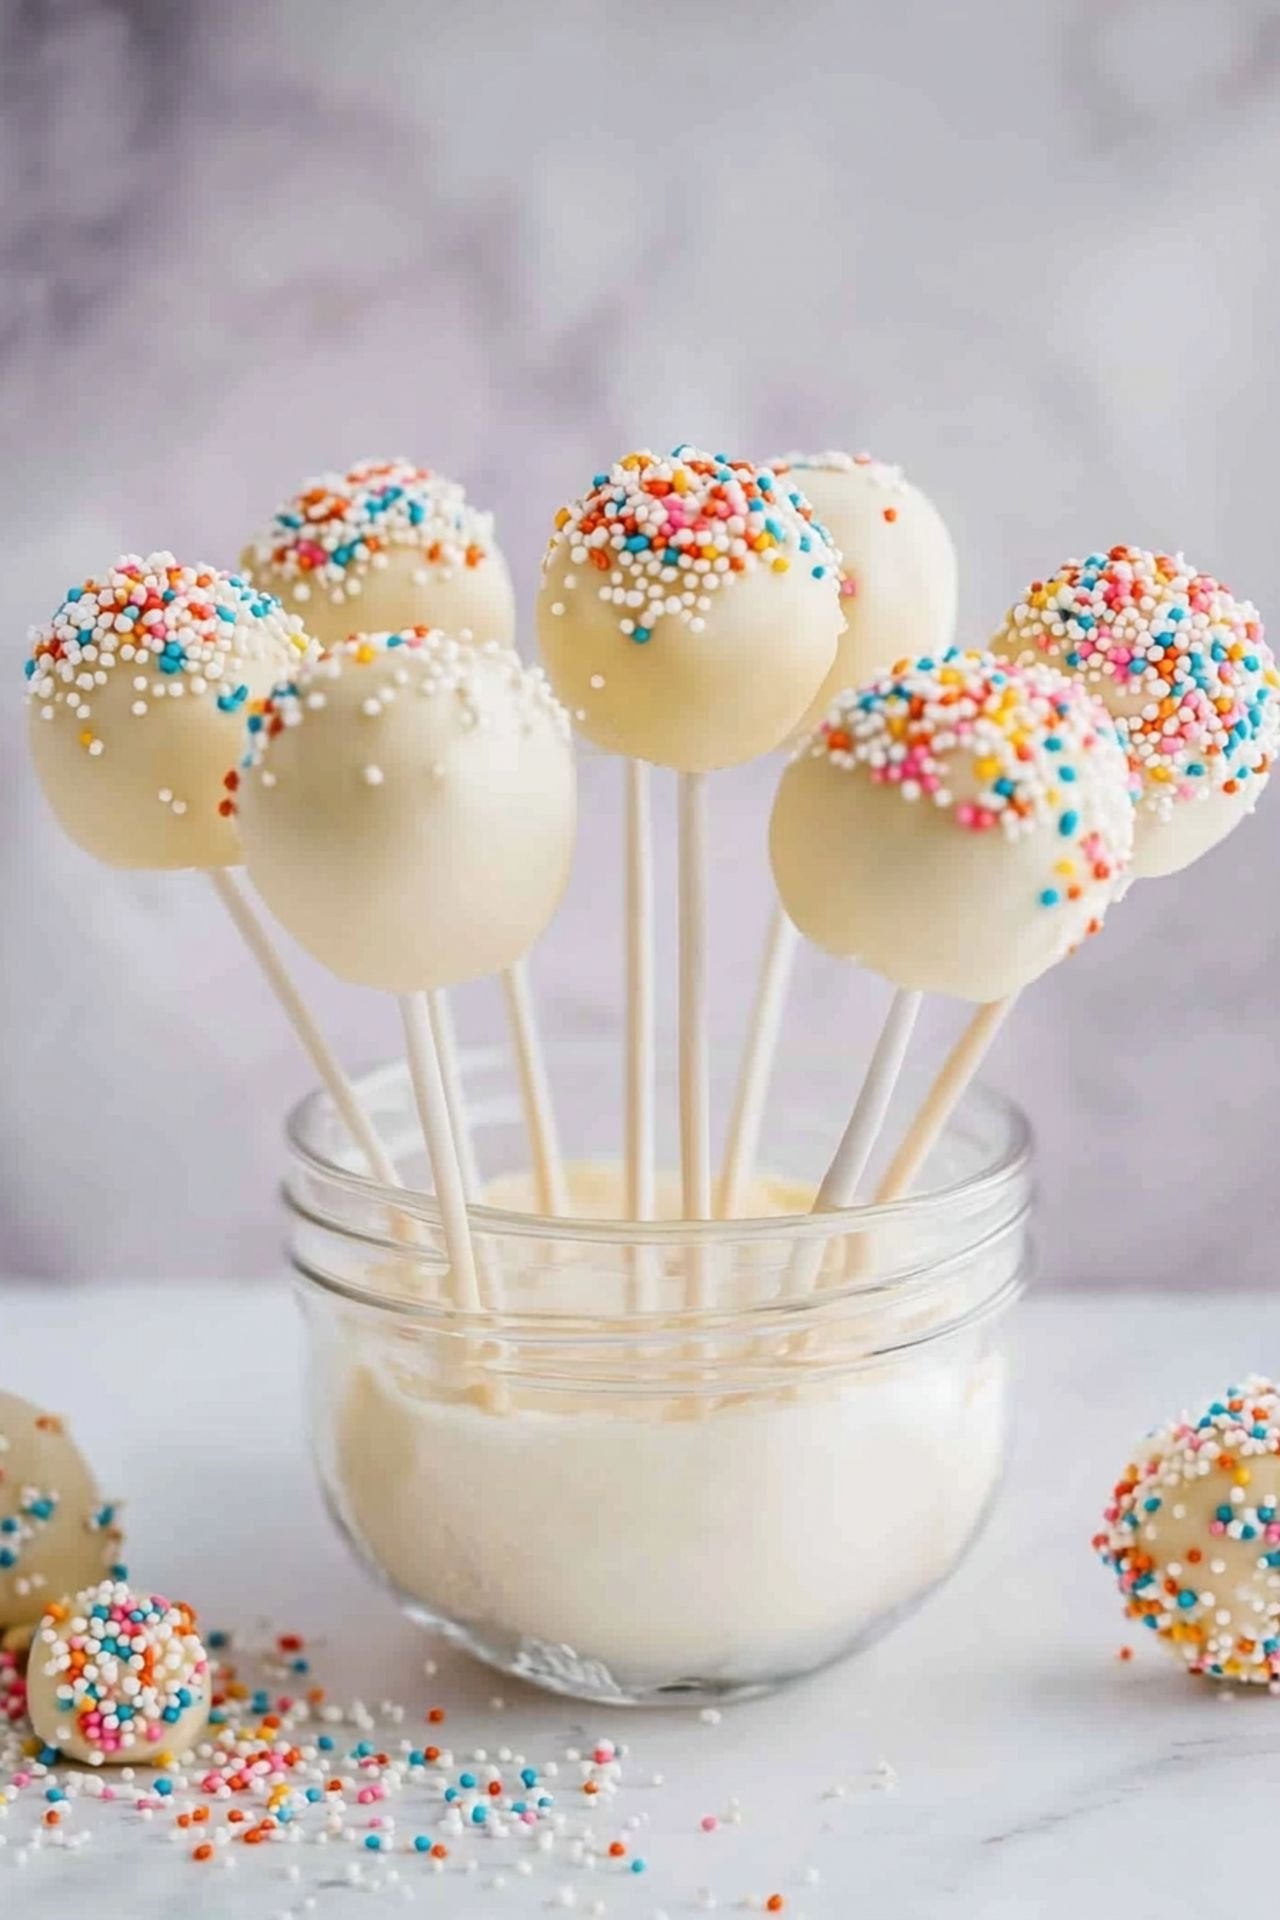
Step 5. Melt your candy coating. Dip one end of each stick into the chocolate before pushing it into a cake ball. This helps the stick stay put.
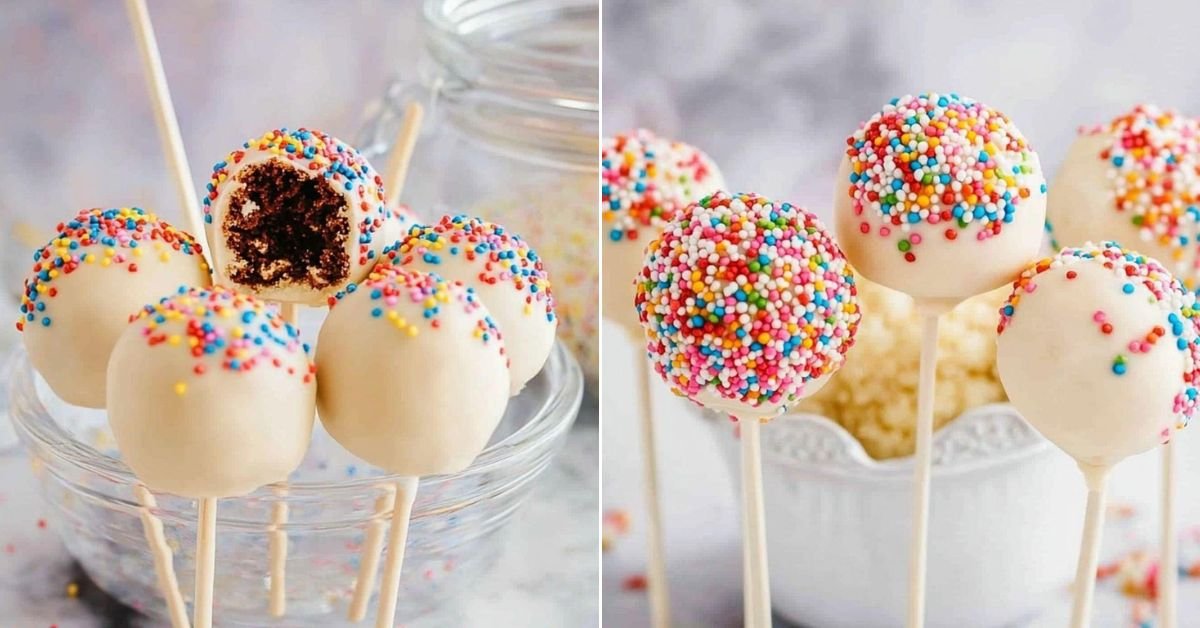
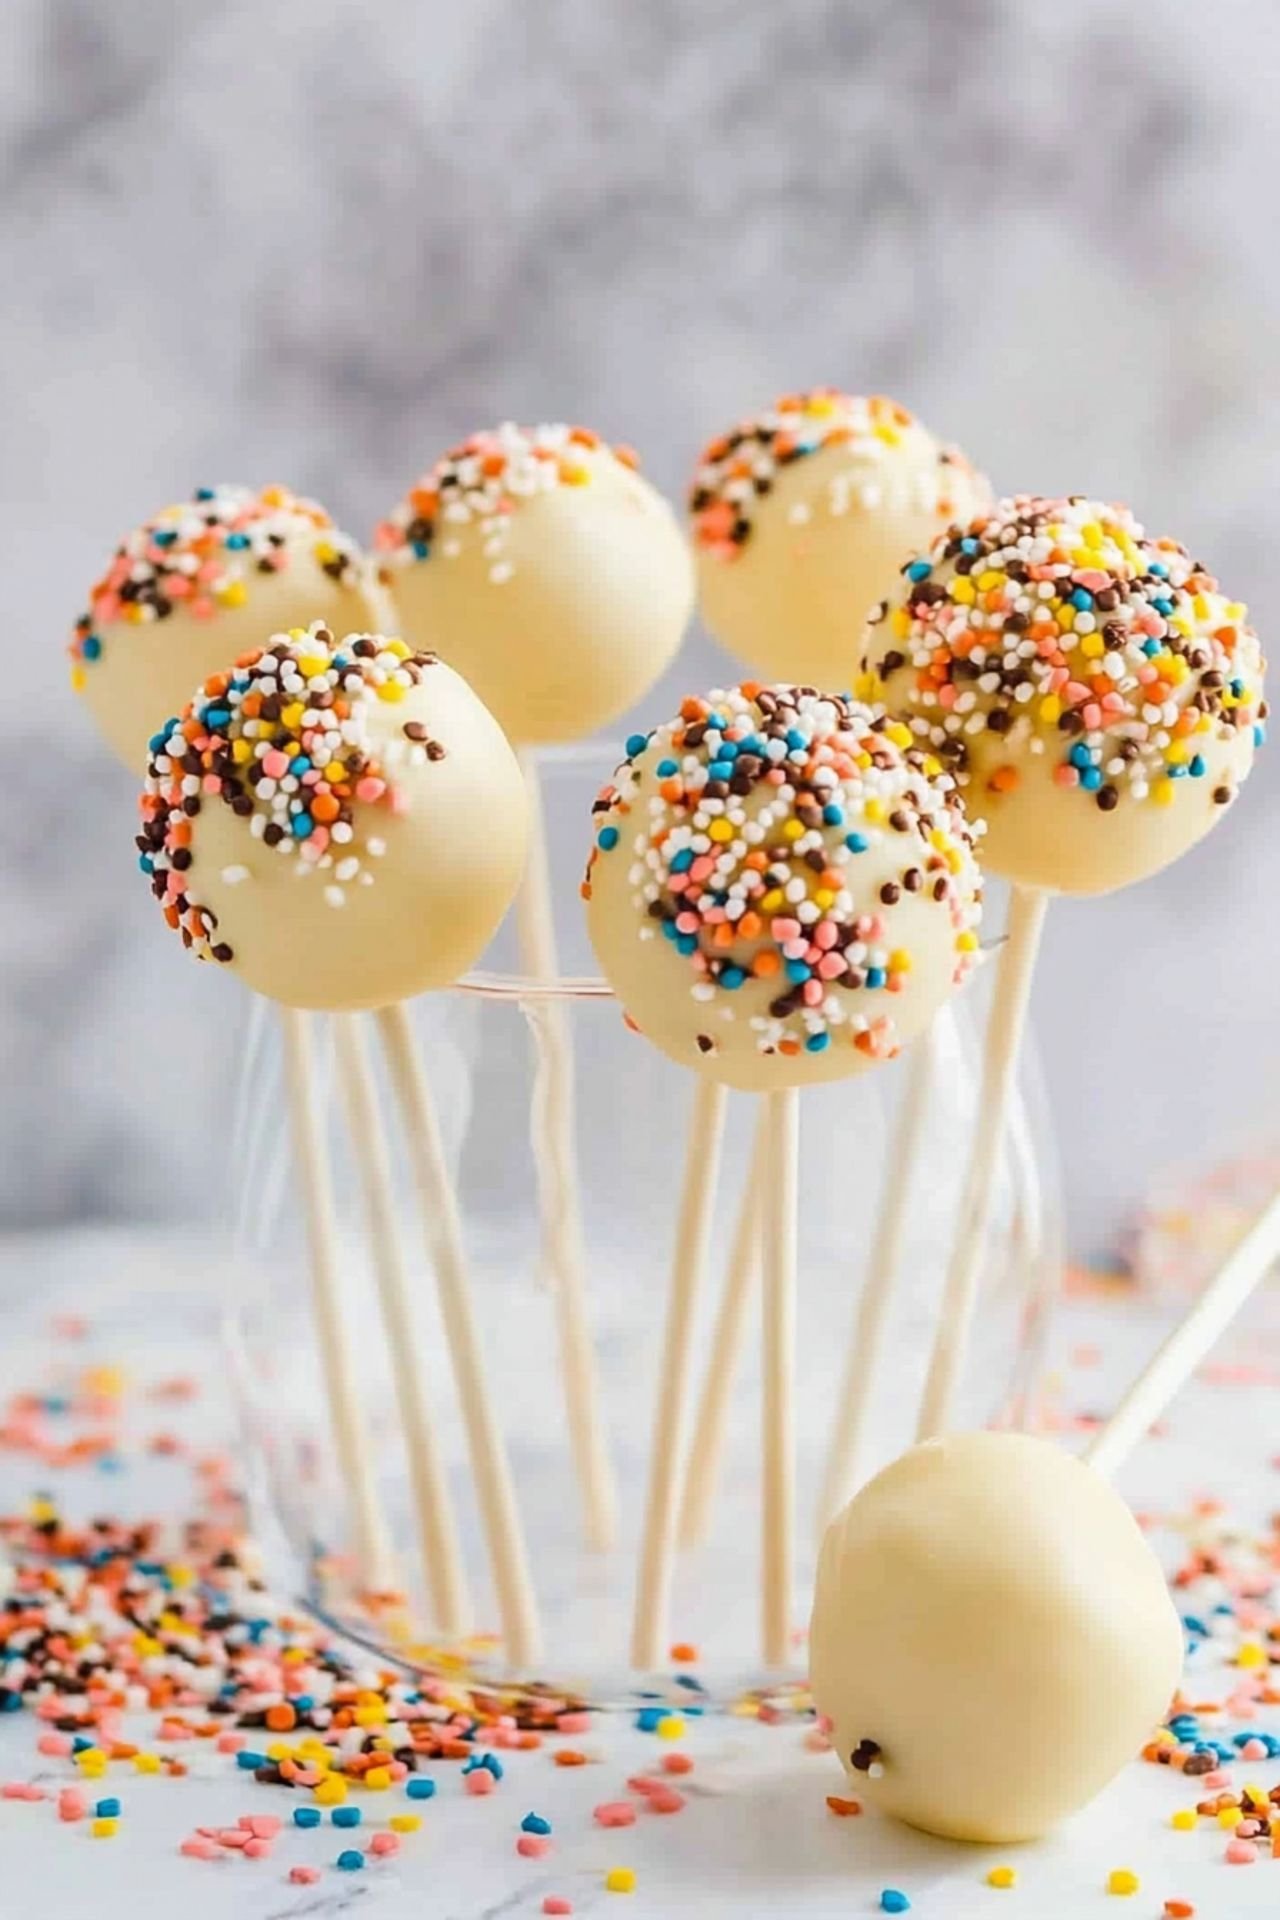
Step 6. Now dip the whole cake pop into the melted coating. Let the extra drip off before you add sprinkles. Be gentle—no swirling.
Step 7. Stand them upright in foam or a box with holes and let them set. When the coating hardens, they’re ready to enjoy or share.
5) Tips for Making Cake Pops
If your cake balls crack while coating them, they’re probably too cold or the chocolate’s too hot. Let them warm slightly or cool the chocolate a bit before dipping.
You can freeze the cake balls before dipping, but don’t keep them in there too long or you’ll get cracks. I usually give them about 15 minutes in the freezer or 30 minutes in the fridge.
Keep the decorations simple if you’re short on time. A drizzle of melted chocolate or a dusting of coconut can look just as cute as a full-on sprinkle explosion.
6) Making Cake Pops Ahead of Time
These easy cake pops are perfect for making ahead of a party. I often make the cake and roll the balls the night before, store them covered in the fridge, and then coat and decorate them the next day.
You can freeze uncoated cake balls for up to a month. Just wrap them tightly and thaw them in the fridge before dipping. The texture holds up beautifully and you’ll save loads of time.
If you’re hosting a birthday or holiday event, making these ahead of time helps cut the chaos. Just prep in stages and they’ll be ready without the stress.
7) Storing Leftover Cake Pops
Once coated, cake pops keep well at room temperature for a couple of days, or in the fridge for up to a week. Just keep them in an airtight container.
If you want to freeze finished pops, wrap each one in plastic and place them in a freezer-safe bag. They’ll last for about two months and still taste great after a quick thaw.
Want to keep that chocolate coating crisp? Avoid the fridge’s damp spots. Stick them in the middle shelf if you can. Or better yet, eat them quickly. Problem solved.
8) Try these cakes next!
9) Cake Pops
Cake Pops Made with Cake Mix – Easy Cake Recipes Everyone Can Master
Ingredients
- 1 box of cake mix (your choice of flavor)
- Ingredients listed on the cake mix box (usually eggs, oil, and water)
- 1 cup of frosting (store-bought or homemade)
- Candy melts or chocolate chips for coating
- Sprinkles, crushed nuts, or toppings of your choice
- Lollipop sticks
Instructions
- Bake the cake according to the directions on the box. Let it cool completely—seriously, don’t rush this or you’ll end up with a sticky mess.
- Once cooled, crumble the cake into a large bowl. You want fine crumbs, not big chunks.
- Mix in frosting, a bit at a time, until the texture feels like playdough—moist enough to stick, but not overly gooey.
- Roll the mixture into small balls, about 1 inch wide. Place them on a baking sheet lined with parchment.
- Stick them in the fridge (or freezer if you’re impatient) for at least 30 minutes so they firm up.
- Melt your candy melts or chocolate according to package instructions. Dip each lollipop stick into the melted coating before inserting it into the cake ball—this helps it stay put.
- Now, dip each cake pop into the melted chocolate, let the excess drip off, and decorate with sprinkles or your favorite toppings.
- Stick them upright in a foam block or a box with holes until the coating hardens.
- Eat one immediately—you earned it.
10) Nutrition
Serving Size: 1 cake pop Calories: 140 Sugar: 12g Sodium: 105mg Fat: 7g Saturated Fat: 3.5g Carbohydrates: 18g Fiber: 0g Protein: 1g Cholesterol: 15mg


Leave a Comment