
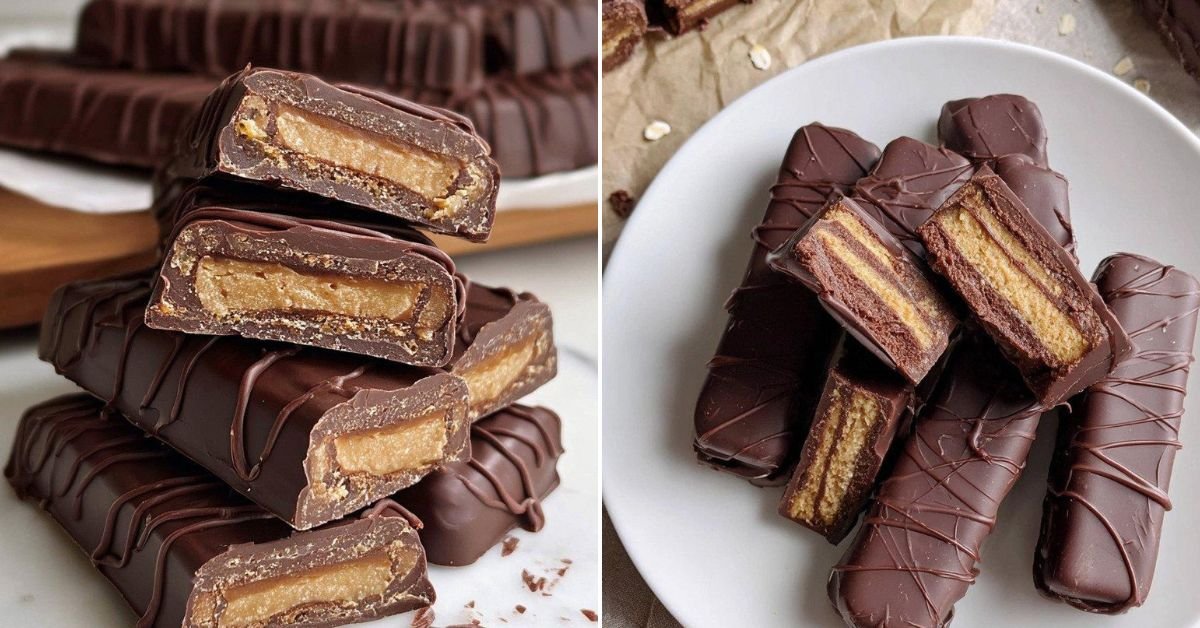
I love a snack that snaps. We make these bars when the afternoon slump hits and the cookie jar looks empty. The crunch wakes me up. The chocolate softens the mood. The clean pantry list keeps me calm. We whisk and press and wait a little. Then we break the bars and share. The texture feels like a classic wafer. The taste leans rich and a bit nutty. I grew up with store bars that stuck to my teeth. These do not. They feel light yet still treat me well. This fits quick snack recipes and my plan for gluten free snacks. It lands in vegan dessert recipes, healthy snack recipes, paleo snack recipes, and the set of almond flour desserts. It works when I need quick healthy snacks and a win that feels easy.
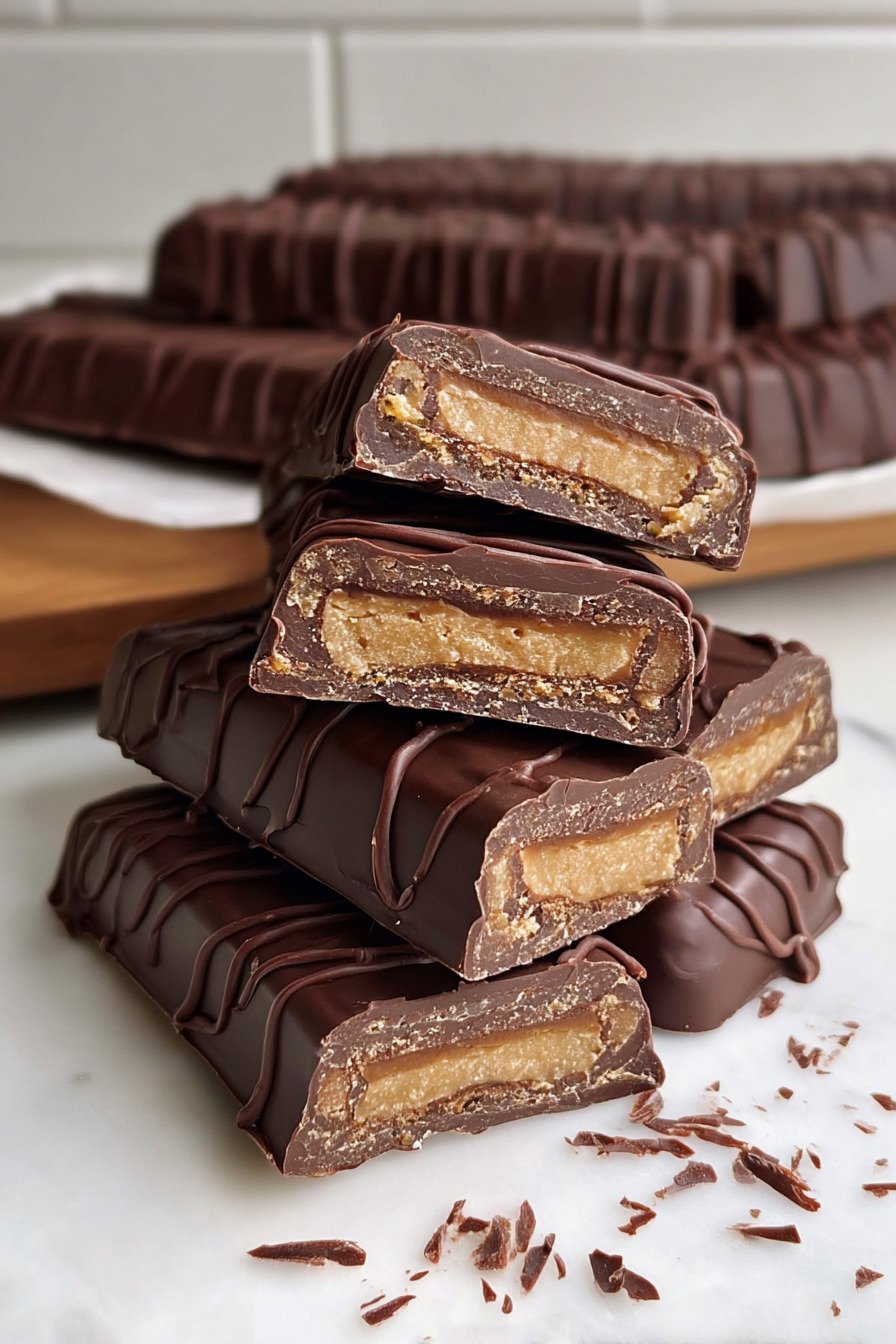
Table of Contents
- 1) Key Takeaways
- 2) Easy Crispy Chocolate Wafer Bars Recipe
- 3) Ingredients for Crispy Chocolate Wafer Bars
- 4) How to Make Crispy Chocolate Wafer Bars
- 5) Tips for Making Crispy Chocolate Wafer Bars
- 6) Making Crispy Chocolate Wafer Bars Ahead of Time
- 7) Storing Leftover Crispy Chocolate Wafer Bars
- 8) Try these Snack next
- 9) Crispy Chocolate Wafer Bars
- 10) Nutrition
1) Key Takeaways
I bake at home and I crave crunch. These bars give me that clean snap and a mellow cocoa finish. The short list helps me move fast and stay relaxed. I lean on pantry basics and a steady routine. I get even texture with a simple press and bake. I keep the chocolate smooth with a low melt. I set the bars cold so the shell stays glossy.
I write this as Elena from Elena Cooks at https://www.elenacooks.com. I test small batches and share wins that fit busy days. The wafer tastes light and the shell tastes rich. The mix satisfies without fuss. We nibble one stick with coffee and we smile. We save the rest for later and they keep well.
This snack fits quick snack recipes and it also pairs with tea time. That phrase quick snack recipes lives in my head when the day runs long. I reach for fast snack ideas that still feel homemade. This recipe checks that box with ease. It still feels special.
2) Easy Crispy Chocolate Wafer Bars Recipe
I crave speed and I crave crunch and I say it twice quick snack recipes quick snack recipes. I keep the steps short and clear. I whisk dry parts in one bowl and wet parts in a cup. I press the dough thin so heat moves fast. The bake sets the crumb and leaves the bite crisp. I cool the slab so the cut stays neat.
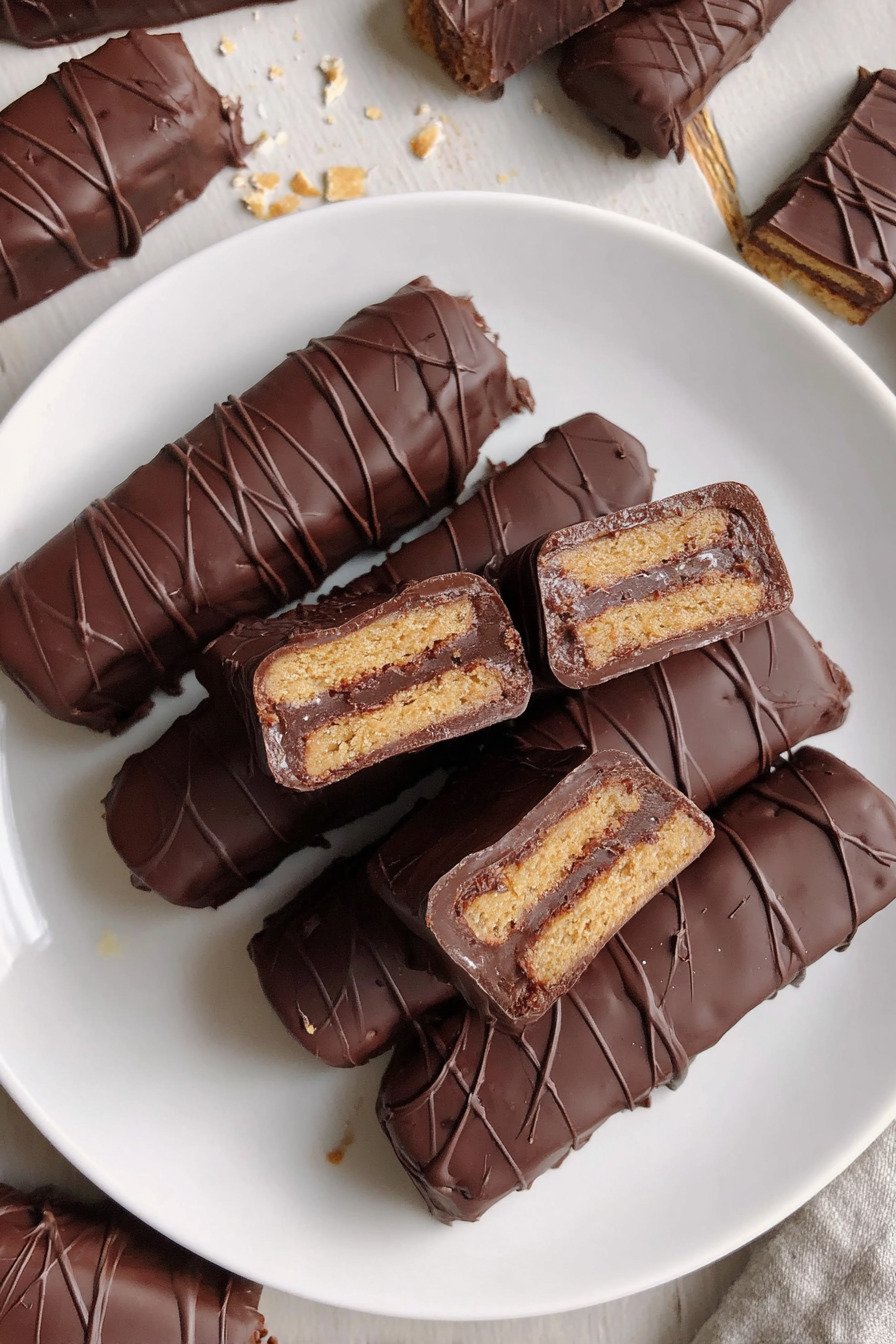
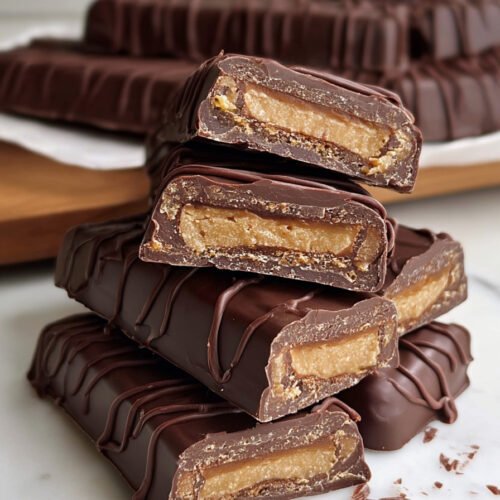
We love the texture. The wafer breaks clean and the chocolate melts slow on the tongue. The smell leans to cocoa and warm nuts. The sheet lifts easy on parchment and that keeps the corners square. I cut narrow fingers so each bar feels balanced. The shape holds in lunch boxes.
I share this on Elena Cooks with calm notes and real fixes. You can keep it plant based and still get that classic snap. It fits vegan dessert recipes and gluten free snacks and it also works for healthy snack recipes on busy weeks. For search fans I add speedy snack recipes as a friendly nod.
3) Ingredients for Crispy Chocolate Wafer Bars
Almond flour I choose fine grind so the crumb stays tender and the break sounds crisp. The mild nut taste lifts the cocoa and never fights it. This base supports almond flour desserts and gives a light bite that kids enjoy and adults respect.
Tapioca flour I add a small scoop for snap. The starch helps the wafer dry clean. The sheet looks pale gold when ready. The mix feels smooth and never gummy when measured with care.
Coconut flour I use a spoon or two for body. It drinks a bit of moisture and firms the bite. I keep the measure light so the crumb stays gentle and the flavor sits in the back row.
Sea salt I sprinkle a pinch to wake the chocolate. The salt makes the sweet feel brighter and keeps each bite lively. A small crystal on top adds a tiny spark.
Maple syrup I pour a modest stream for sweetness and clean moisture. The syrup binds the flours and helps the sheet bake even. The taste reads warm and cozy.
Coconut oil I melt it low and stir it in for structure. The oil helps the wafer bake dry and helps the shell shine later. The flavor stays light at this amount.
Vanilla extract I add a teaspoon for aroma. It meets the cocoa in a friendly way. The kitchen smells like a bakery and kids come running to peek.
Water I add spoon by spoon. I stop when the dough holds but does not smear. The right point feels like soft clay that bends clean.
Dark chocolate chips I choose dairy free for plant based days. They melt smooth with a little oil. The shell sets with a soft sheen and a neat snap when cold.
Coconut oil for melting I stir in a bit with the chocolate. It thins the melt for easy dipping. It sets firm in the fridge and keeps the coat tidy.
Flaky salt I add a few flakes on top when I want contrast. The crunch meets the cocoa and I grin. This small detail feels fancy without work.
4) How to Make Crispy Chocolate Wafer Bars
Step one Heat the oven to three hundred twenty five F. Line a small metal pan with parchment and leave extra for handles. This setup keeps edges straight and release easy. The metal pan gives steady heat and a uniform bake.
Step two Whisk almond flour tapioca flour coconut flour and salt in a bowl. Break any clumps with your fingers. The mix should feel soft and even. This quick stir makes the later press smooth and neat.
Step three Stir maple syrup melted oil and vanilla in a cup. Pour into the bowl and fold. Add water a spoon at a time until the dough holds. Press the dough thin in the pan and prick the sheet with a fork. Aim for even thickness for even crunch.
Step four Bake until the sheet turns pale gold and feels dry at the center. This takes about fifteen minutes in my oven. Cool in the pan to keep the crisp edge. Lift the slab with the paper once firm to the touch.
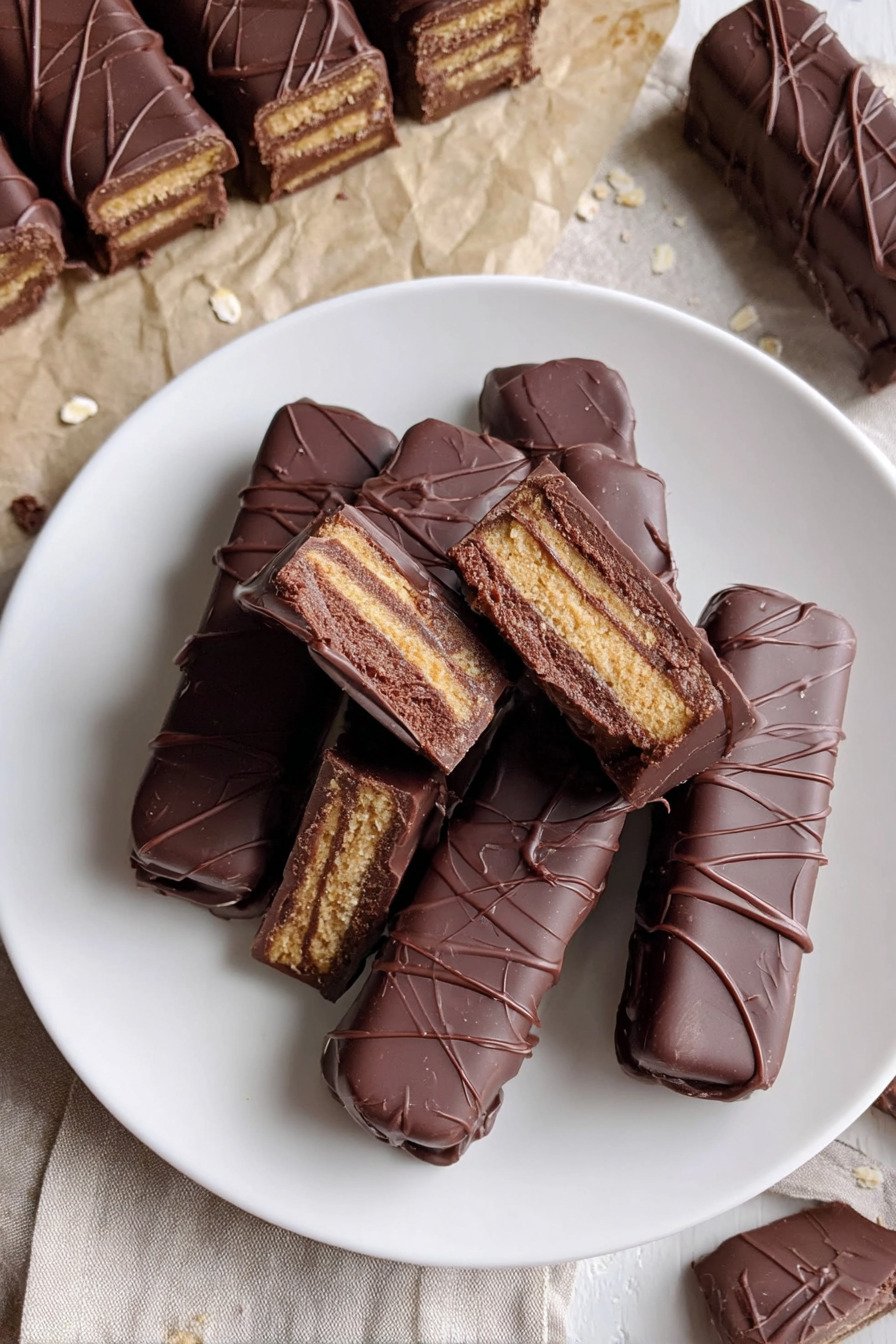
Step five Cut the slab into narrow fingers. Chill the pieces ten minutes. Melt the chocolate with a little oil over low heat. Dip each finger and let extra drip off. Set on fresh parchment and add flaky salt. Chill until set. Say hello to fast snack ideas and a tidy tray.
5) Tips for Making Crispy Chocolate Wafer Bars
Thin dough makes crisp bars. I press with a flat cup and I check corners. Even depth means even crunch and clean breaks. Warm hands soften dough so I work quick. If it sticks I chill the pan five minutes then finish the press.
Slow melt keeps the shell smooth. I use low heat and I stir often. A small bit of oil loosens the pool and the dip goes easy. I set dipped bars on cool parchment so the base stays neat. I nudge each piece so sides do not touch.
For special diets we keep swaps simple. This fits paleo snack recipes when the chocolate has clean ingredients. It sits with quick healthy snacks when we cut small bars. It joins almond flour desserts on the site and it plays well with speedy snack recipes for busy folks.
6) Making Crispy Chocolate Wafer Bars Ahead of Time
I plan ahead when the week looks packed. I bake the wafer on Sunday. I cool it and I cut clean sticks. I freeze the fingers in a single layer. On a weeknight I melt chocolate and dip the lot. Fresh bars show up with little effort.
You can dip all at once or you can dip as needed. The wafer keeps its snap in the freezer. The chocolate sets fast on chilled sticks. This flow fits quick snack recipes and saves me from store runs. The tray makes the kitchen smell like cocoa shop dreams.
For gifts I wrap two bars in parchment and tie a short string. The pack looks sweet and keeps fingers clean. Friends ask for the link and I send them to Elena Cooks. I smile when they text back with crumbs and love.
7) Storing Leftover Crispy Chocolate Wafer Bars
I store bars in a tight tin in the fridge. Cold air keeps the shell glossy and the snap strong. The texture stays crisp for a week. For longer storage I freeze them and thaw a few on the counter before a show or a walk.
If you pack a lunch use a small box so bars do not rattle. Slip in a napkin for crumbs. The chocolate softens a touch at room temp but the wafer keeps its bite. That balance feels right for an afternoon treat.
For folks who track food choices this fits healthy snack recipes when you plan your day. It joins gluten free snacks and vegan dessert recipes on the site list. It also sits with swift snack ideas for travel days and late meetings.
8) Try these Snack next
9) Crispy Chocolate Wafer Bars
Crispy Chocolate Wafer Bars for quick snack recipes
Ingredients
For the Wafer Layers
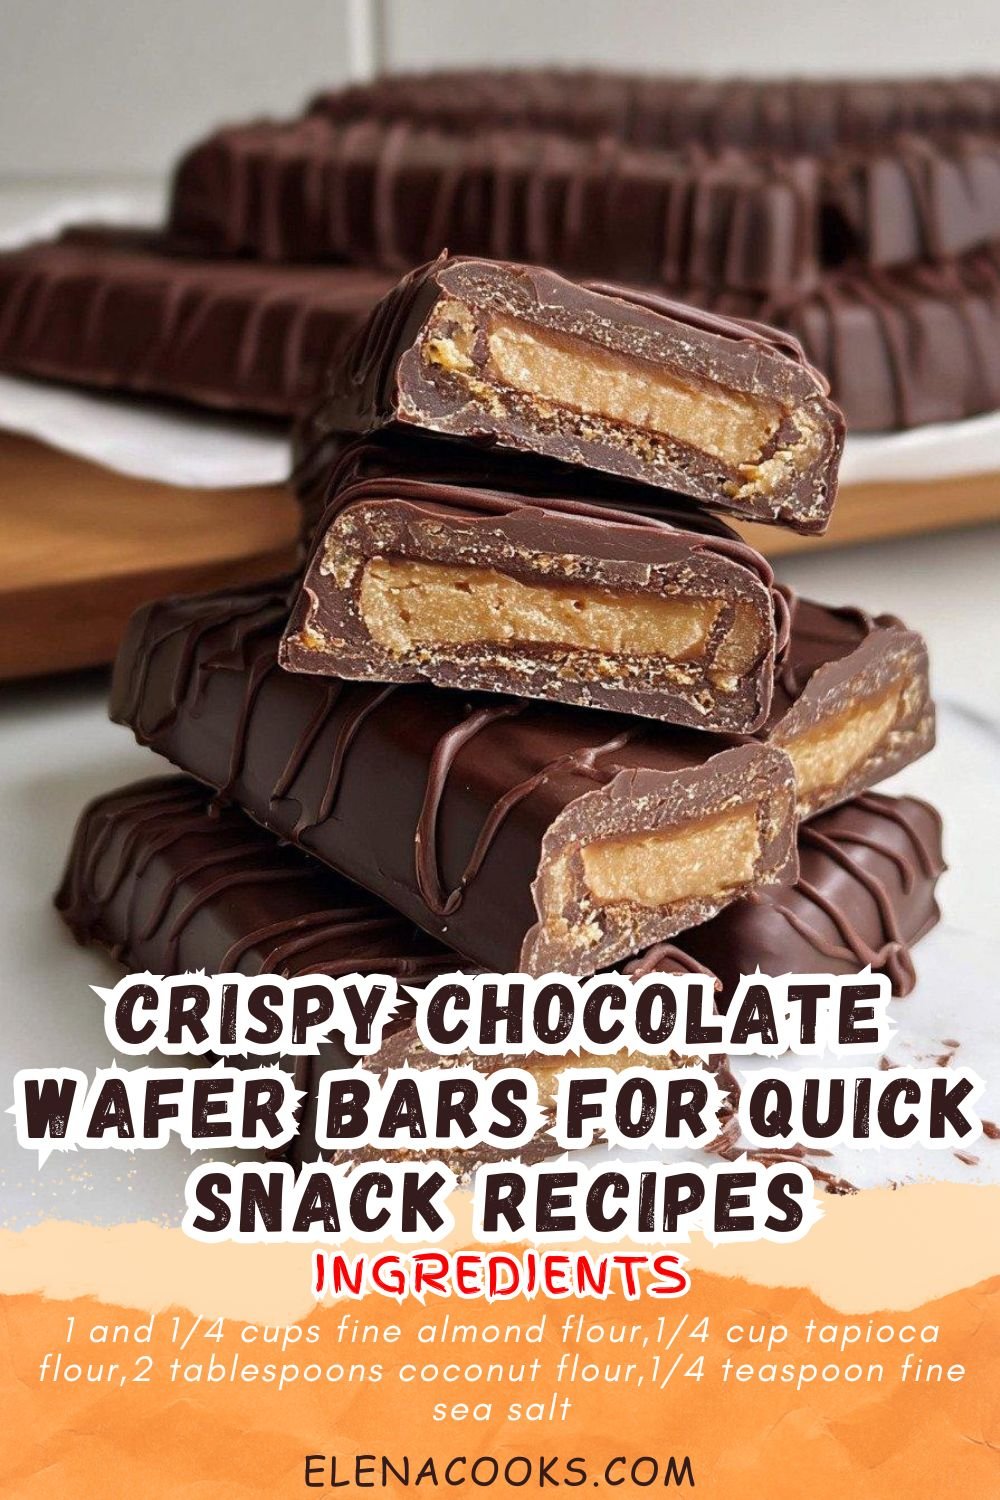
- 1 and 1/4 cups fine almond flour
- 1/4 cup tapioca flour
- 2 tablespoons coconut flour
- 1/4 teaspoon fine sea salt
- 3 tablespoons maple syrup
- 2 tablespoons melted coconut oil
- 1 teaspoon vanilla extract
- 2 to 3 tablespoons water for mixing
For the Chocolate Shell
- 1 cup dark chocolate chips dairy free if needed
- 1 tablespoon coconut oil
- Flaky salt for topping optional
Instructions
Bake the Wafer
- Heat oven to 325 F. Line a metal loaf pan or small sheet with parchment.
- Whisk almond flour, tapioca, coconut flour, and salt. No clumps.
- Stir in maple syrup, coconut oil, and vanilla. Add water a spoon at a time. You want a dough that holds together.
- Press dough thin in the pan. Aim for even edges. Prick with a fork.
- Bake 14 to 18 minutes until dry and lightly golden. Cool in the pan.
Form the Bars
- Lift the slab by the parchment. Trim edges for neat sticks. Cut into finger wide rectangles.
- Freeze the wafer pieces 10 minutes so they handle well.
Coat with Chocolate
- Melt chocolate and coconut oil over gentle heat. Stir smooth.
- Dip each wafer. Let excess drip. Set on parchment. Sprinkle flaky salt.
- Chill 15 minutes until set. Crunch time.
Store
- Keep bars chilled in a sealed box for one week. Freeze for longer.
10) Nutrition
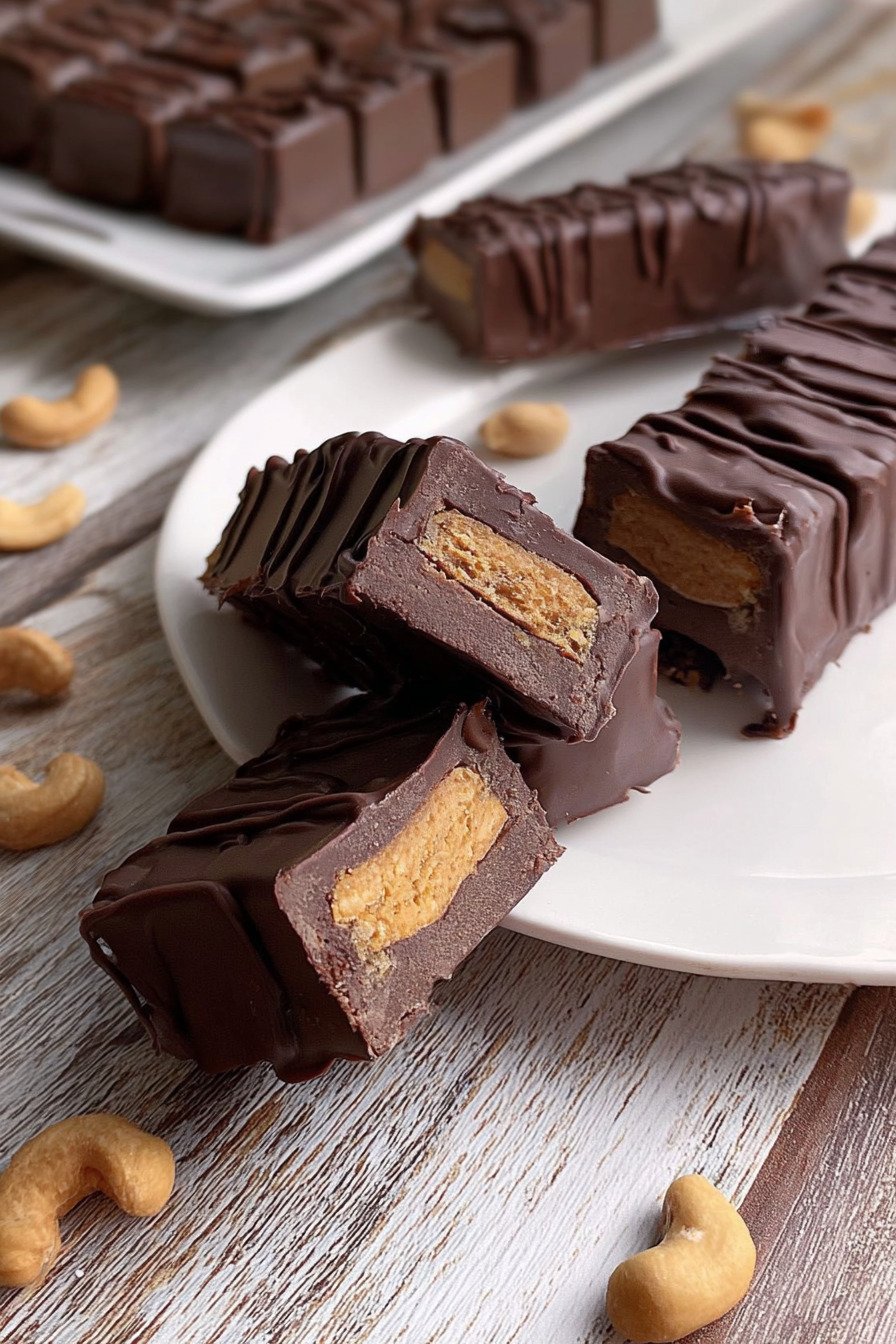
One bar offers a tidy bite that feels light yet still fills the snack gap. We get a balance of fat from nuts and oil and a lift of carbs from the wafer and the shell. The fiber sits modest and the protein shows up from the almond base. For a small tweak cut narrower fingers for fewer calories. For sport days pair a bar with fruit for more carbs. This lives with healthy snack recipes on Elena Cooks and sits near gluten free snacks for folks who need that path. Enjoy the crunch and the calm it brings to a busy hour.


Leave a Comment