
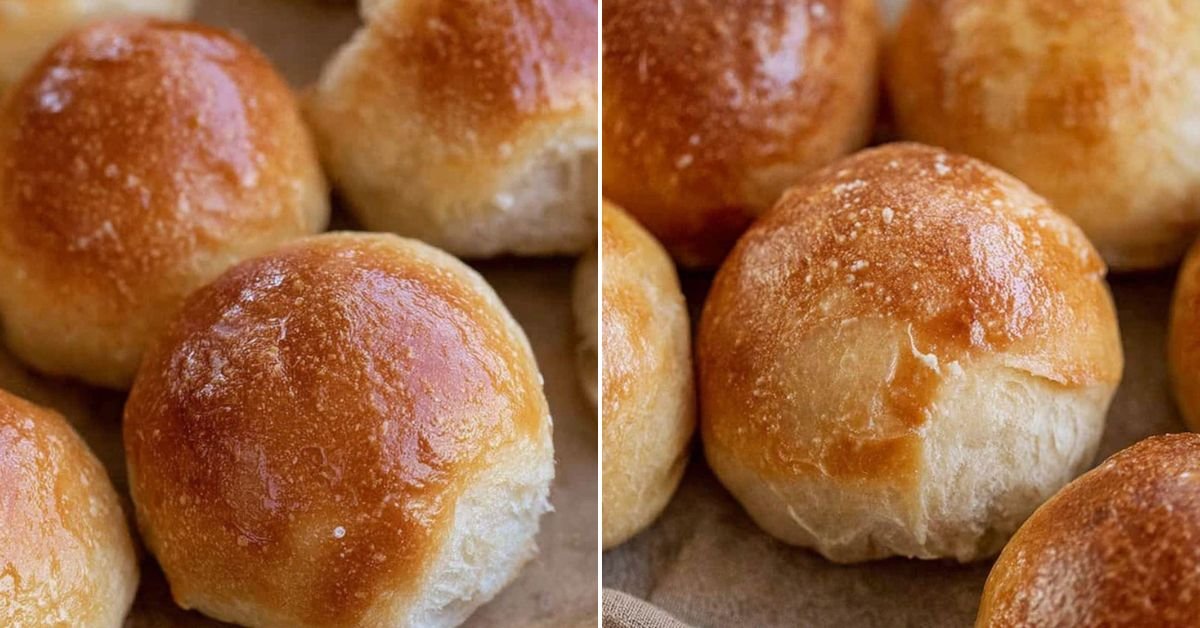
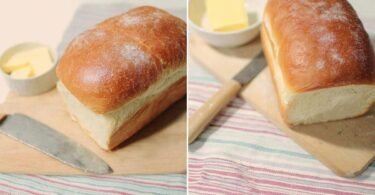
Let’s talk bread. Not the pre-sliced, bagged stuff you grab in a rush—no, I’m talking about warm, crusty French bread rolls with chewy insides and golden, crackly tops. These are the kind of rolls that whisper, ‘You did good’ when you pull them out of the oven. We’re not going to overcomplicate it. Just a handful of pantry staples, a bit of patience, and your kitchen will smell like a dream. I made these one rainy Sunday and ended up skipping dinner—just slathered on butter and called it a night. Priorities. You don’t need to be a pro baker. If you can mix, knead (sort of), and have enough willpower not to eat the dough, you’re in. There’s a quiet joy in shaping dough with your hands—like edible stress therapy. These rolls are perfect for sandwiches, soups, or sneaking one at midnight like I may or may not have done last night. This recipe nails that bakery-level crust and chew without needing a brick oven or a magic spell. Whether you’re planning a cozy dinner or just want your house to smell like you know what you’re doing, these homemade bread rolls deliver.

Table of Contents
- 1) Key Takeaways
- 2) Easy Crusty French Bread Rolls Recipe
- 3) Ingredients for Crusty French Bread Rolls
- 4) How to Make Crusty French Bread Rolls
- 5) Tips for Making Crusty French Bread Rolls
- 6) Making Crusty French Bread Rolls Ahead of Time
- 7) Storing Leftover Crusty French Bread Rolls
- 8) Try these Bread recipes next!
- 9) Crusty French Bread Rolls
- 10) Nutrition
1) Key Takeaways
- These homemade bread rolls are easy enough for beginners and taste like a bakery special.
- The texture is everything—crispy on the outside, chewy and soft on the inside.
- Just a handful of ingredients and a little rise time make these rolls a total weeknight win.
- The recipe freezes beautifully and pairs well with nearly every meal you can think of.
2) Easy Crusty French Bread Rolls Recipe
If you’ve ever walked past a bakery and gotten weak in the knees at the smell of fresh bread, you’re in the right place. Making homemade bread rolls easy at home doesn’t take much more than warm water, yeast, and a bit of gumption.
I first tried this recipe when I was out of sandwich bread and too lazy to go to the store. Turns out, laziness sometimes leads to greatness. These crusty rolls came out golden on top, warm inside, and so flavorful, I ended up eating one plain… then another with butter… then a third just to be sure.
What’s great about this recipe is how low-effort it is for such a high-reward result. Whether you’re making soup, pasta, or just feeling like flexing your “I bake bread” muscles, this is one you’ll come back to again and again. On Elena Cooks, this has quickly become one of our reader faves—and mine too.
3) Ingredients for Crusty French Bread Rolls
Warm Water: It should be about the temperature of a relaxing bath—roughly 110°F. This wakes up the yeast just right.
Active Dry Yeast: This little packet is the start of all good things. Gives the dough that magical lift.
Granulated Sugar: Just a bit. It feeds the yeast and helps with browning.
Vegetable Oil: Adds a touch of moisture and helps keep the rolls soft inside.
Salt: Don’t skip this. It balances everything and adds flavor.
All-Purpose Flour: The structure of the rolls. Start with 4 cups, but know your dough may ask for a bit more or less depending on humidity and flour type.
4) How to Make Crusty French Bread Rolls
Step 1. Stir the warm water, yeast, and sugar together in a large bowl. Let it sit for about 5 to 10 minutes until it’s all foamy and alive. If it’s not foaming, your yeast might be tired. Try again with a new packet.
Step 2. Mix in the oil, salt, and half of the flour. It’ll be goopy and weird. Totally normal. Add the rest of the flour slowly while stirring or mixing by hand. When it comes together, turn it onto a floured surface.
Step 3. Knead the dough for about 8 minutes. Not sure what kneading feels like? It’s like giving a stress ball a workout. Smooth, elastic dough is the goal.
Step 4. Place the dough in a lightly oiled bowl. Cover it with a clean towel and let it rise in a warm spot until doubled—usually about an hour. Go sip some tea. You’ve earned it.
Step 5. Punch the dough gently, then divide it into 12 roughly equal parts. Shape each into a ball and place them on a greased baking sheet, spaced a bit apart.
Step 6. Cover the tray and let the dough rise again for 30 minutes. Preheat your oven to 400°F while you wait.
Step 7. Bake for 18 to 20 minutes until golden and the tops sound slightly hollow when tapped.
5) Tips for Making Crusty French Bread Rolls
If your kitchen is chilly, let the dough rise in the oven with the light on. It’s like a mini sauna for yeast.
Use a kitchen scale for even rolls if you’re picky like I am on holidays. Otherwise, eyeball it and call it rustic.
A sprinkle of flour on top before baking makes them look straight out of a bakery, even if your kitchen’s a mess.
Want a shinier finish? Brush the tops with an egg wash before baking. Want more crusty crunch? Toss a small pan of water into the bottom of your oven when you bake—it steams the rolls for extra chew.
6) Making Crusty French Bread Rolls Ahead of Time
You can absolutely prep these homemade bread rolls easy the night before. After shaping, pop them on a tray and let them rise in the fridge overnight. Take them out about an hour before baking so they can warm up and puff up a bit more.
If you’re planning ahead for a dinner party, these freeze beautifully once baked. Just let them cool completely, then store in freezer bags. Reheat in a 350°F oven for 10 minutes straight from frozen. Boom—fresh bread rolls on demand.
Sometimes I’ll even double the batch and freeze half, because you never know when you’ll need a warm roll to save the day.
7) Storing Leftover Crusty French Bread Rolls
Once baked and cooled, keep your bread rolls in an airtight container or bread bag on the counter. They stay fresh for about 3 days, maybe 4 if you toast them. They never make it that long in my house though.
If you know you won’t eat them all in a couple days, freeze them. They come back to life in the oven with a little heat—just like leftover pizza, but with a crunchy twist.
Whatever you do, don’t store them in the fridge. That’ll dry them out faster than forgetting you had them in the first place.
8) Try these Bread recipes next!


9) Crusty French Bread Rolls

Homemade Bread Rolls Easy – Crusty, Chewy, and Totally Worth It
Ingredients
- 1 ½ cups warm water (about 110°F)
- 2 teaspoons active dry yeast
- 1 tablespoon granulated sugar
- 2 tablespoons vegetable oil
- 1 teaspoon salt
- 4 cups all-purpose flour (give or take a little)
Instructions
- In a large mixing bowl, stir the warm water, yeast, and sugar together. Let it sit until it looks foamy—like the top of a cappuccino. About 5–10 minutes.
- Add oil, salt, and 2 cups of the flour. Stir until it’s all mixed and sticky.
- Slowly add the rest of the flour, about a half cup at a time, mixing and kneading until the dough is soft, a little tacky, and springs back when poked.
- Cover the bowl with a clean towel and let the dough rise in a warm spot for about an hour. It should double in size. Take a breath. You’re doing great.
- Punch the dough down (gently but firmly—it’s not personal). Divide into 12 equal-ish portions and shape into rolls. Place them on a lightly greased baking sheet.
- Cover and let them rise again for about 30 minutes. Meanwhile, preheat your oven to 400°F.
- Bake the rolls for 18–20 minutes until golden brown and smelling like heaven.
- Let them cool just enough not to burn your mouth. Then? Butter. Lots of butter.
10) Nutrition
Serving Size: 1 roll | Calories: 170 | Sugar: 1 g | Sodium: 195 mg | Fat: 3 g | Saturated Fat: 0.5 g | Carbohydrates: 31 g | Fiber: 1 g | Protein: 4 g | Cholesterol: 0 mg


Leave a Comment